
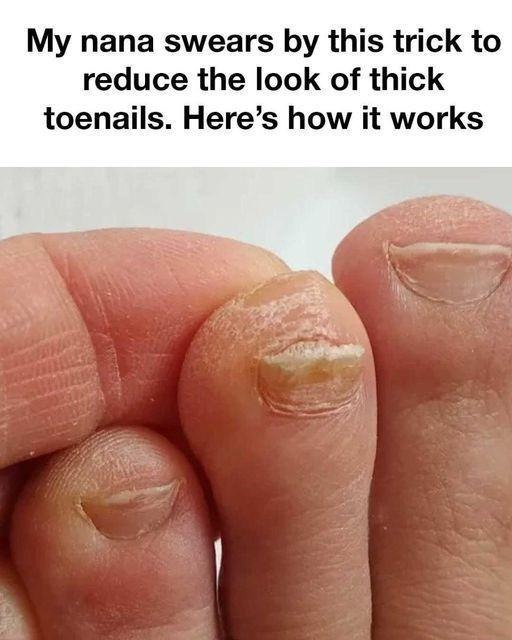
 My Grandma’s 5 Step Routine for Healthier Toenails
This was not something she learned from a book or a doctor. It was something she practiced for decades and passed on quietly, one afternoon, with a basin of warm water, a pumice stone, and more wisdom than any medicine cabinet could hold. She believed that when you take care of the smallest parts of your body with patience and consistency, everything else begins to follow.
 What You Will Need
A large bowl or basin big enough for both feet
Warm water that feels comforting but not hot
Half a cup of white vinegar for cleansing and antifungal protection
A quarter cup of baking soda to soften nail tissue and neutralize odor
A soft bristle nail brush
A pumice stone or emery board
A moisturizing cream or natural oil such as coconut or olive
 Step One Soak in Vinegar and Baking Soda
This soak works because vinegar creates an environment that fungi and bacteria dislike, while baking soda softens hardened nail tissue and balances the natural acidity of the skin. Together they begin the healing process long before you touch a file or brush.
If your nails are especially stubborn, adding a few drops of tea tree oil provides an extra layer of natural antifungal support.
Step Two Gently Scrub the Nails
After soaking, take your soft nail brush and gently scrub the surface of each toenail. Focus on lifting debris from the edges and smoothing any rough areas. The goal is to clean and refresh the nail, not to force or scrape aggressively. Healthy nails respond best to patience and light pressure.
Step Three File and Thin the Nail
Use your emery board or nail file to gently thin the top layer of each nail. Always file in one direction. Back and forth movement weakens nails and encourages splitting. The purpose here is gradual thinning, never cutting into the sensitive area beneath the nail.
If your nails are very thick, you may lightly use a pumice stone after filing to smooth the surface and encourage even growth.
Step Four Dry Completely
Drying is as important as soaking. Pat your feet thoroughly, paying special attention to the spaces between your toes. Moisture creates the perfect environment for fungal growth. If needed, a hair dryer on a cool setting can help eliminate lingering dampness.
Step Five Moisturize and Protect
Massage your chosen cream or oil into your feet and around the nail beds. Avoid pushing oil underneath the nail if you are prone to fungal issues. When finished, put on clean cotton socks to protect the moisture barrier and keep your feet warm.
Repeat this full process three or four times each week for the best results.
 Gentle Wisdom from Grandma
Trim your nails straight across to prevent ingrown nails.
Wear breathable shoes and socks to reduce sweat and pressure.
Change socks daily to keep feet fresh and dry.
Never share clippers or nail files to avoid spreading fungus.
Most of all, be patient. Toenails grow slowly and real results appear after six to eight weeks.
 Final Thought
Great healing often begins with very small acts of love. A bowl of warm water. Two pantry staples. The decision to slow down and care for your body.
Because real wellness is not loud. It lives in quiet moments, feet soaking, hands tending, and memories passed gently from one generation to the next.
And when you finally slip on sandals without hesitation, you will know you did more than soften a nail. You honored your grandmother’s wisdom and your own.